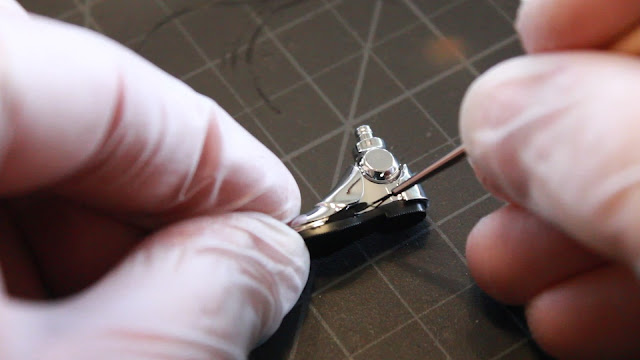
So the kit, as usual with Bandai, is a fantastically detailed kit. Most of it modeled in chrome plated plastic, which is awesome. The other pieces modeled in black, which again is great because all Phasma is, is black and chrome. It is my intention to build this kit as if Phasma has recently been in battle. So while it will be shiny chrome, it will be weathered and pitted from battle.
So I first assembled Phasma's head, which consisted of 7 pieces. And the detail in the helmet is great. Fine little detail in the black sides. You'll also notice in the updoming photos I'm wearing gloves while building this kit. Because of it being cast in chrome plated plastic, and fingers touching the kit immediately leaves prints and dulls it down.
Then moved on with the torso...
The legs...
Arms...
Then Phasma's awesome blaster...
So the first of my painting is the blaster. I begin by painting all areas of the gun black that are supposed to be black.
I then use Tamiya sand and mud pastels to dirty up and dull down the blaster a bit.
Then moving on the Phasma's helmet. I start with the sponge technique, of dabbing the sponge in black paint, the patting it off on a towel, then lightly applying to the helmet to create organic looking chipping.
And as with the blaster, I use pastels to dirty up and weather the helmet.
Then, on to the main body, I had to paint inside the feet and hands with black. As the pieces were modeled in chrome, there still needs to be black in between the knuckles, palms, and around the feet and shins, and some black between chrome areas of the belt.
Then black wash around the body armor in recessed areas and where there are armor connectors.
As with the helmet, I went around the body in various areas using the sponge technique to do some battle chipping of the armor.
Then again, using pastels, weathered and dirtied her up a bit from battle.
Then it was time for the cape. The kit came with a stiff fabric cape or a plastic cape to use. I DID NOT like either. While the plastic cape looks nice for the flow, it's still plastic. The fabric cape is just very stiff and does not drop and flow.
So I purchased some fabric from Hobby Lobby...
used the kit fabric cape as a template to cut out my fabric...
and here we have a nice heavier flowing cape.
I then taped off the edge to paint it red...
then once again, used pastels to dirty up the cape a bit...
and even the sponge technique with some sand colored paint
Then the cape is attached to Phasma....
and I now present my complete Captain Phasma model build.
Thanks for checking out my build of the Bandai 1/12 scale Captain Phasma model kit.


